
I want to show you how you can easily fold a single sheet cardstock to make a 6 page mini album which can work for any occasion really-decorate it with holiday theme cardstock or use a holiday driven colour scheme ,and you'll have a great gift for the gift giving season


To make your album ,you'll need
1 12X12" cardstock- it can be any cardstock really,since the base of the album will be completely covered.
I used coredinations paper

Fold your paper in half

Unfold turn and fold the other side in half


The covers of your album will be the two top right rectangulars
NOTE that when you decorate those two you need to glue your decorations upside down

Use your XYRON glue stick to apply glue to these two rectangulars

We don't have "Thanksgiving" here in Israel,but we do Give Thanks everyday for the friends God has blessed us with,so I thought it will be my take on Thanksgiving :)
Cut two 3"X 6.5" covers

Glue them in place ( remember to do so upside down! )


Now fold your mini album like shown (fold in half and then push the two ends toward each other )


Now it's time to decorate
XYRON 3" sticker maker is a perfect tool for mini album decorations since our album pages are just slightly smaller than 3" wide

Then I run the shape through the 3" sticker maker to apply glue on the photo part of my newly improved sticker


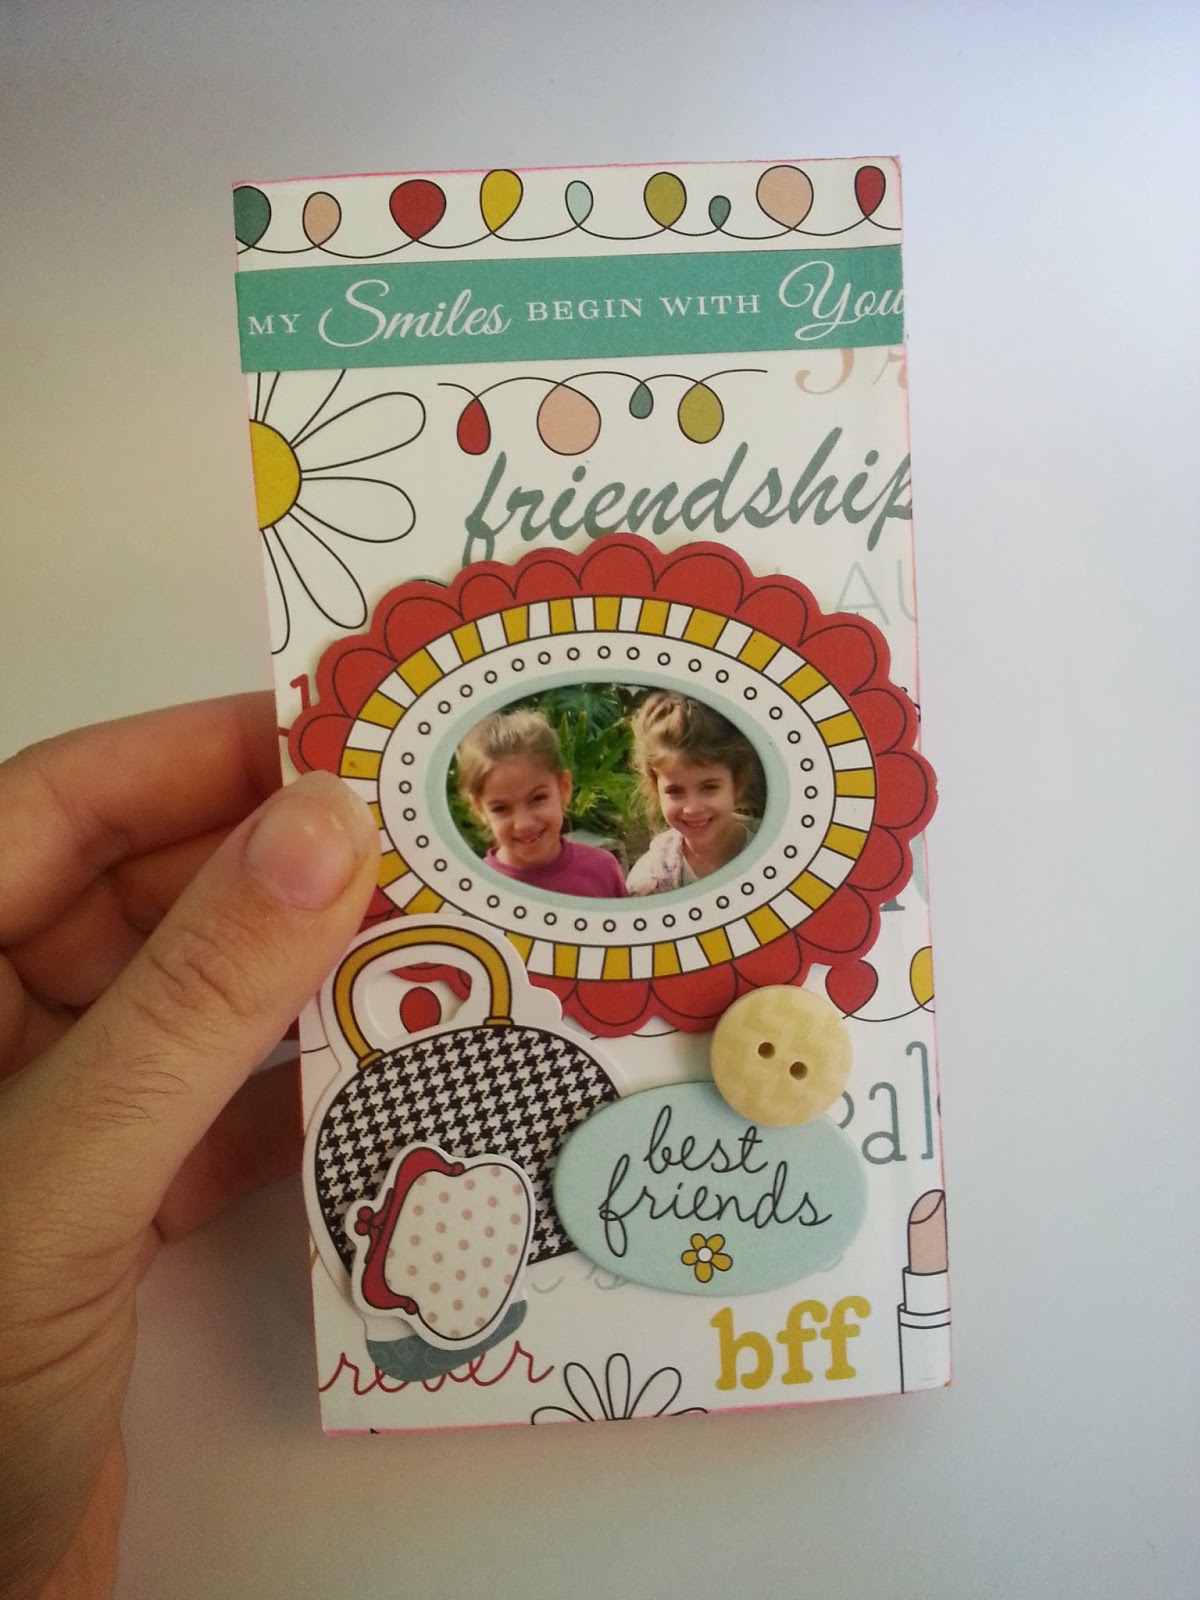
Glue the sticker on the cover and keep decorating till you happy with the result

Keep up the good work you do with the rest of the album pages

 I
I

1st spread

They are so adorable together,ha :)

2nd spread

3d spread


So pretty and great idea!
ReplyDelete