A few days ago I showed you how you can easily refashion your old shirt and give it a new life...Now I want to show you that not only your old blouses can be restyled ,but you can use your boyfriend's shirts as well!
This time,my task is to make a Peplum Blouse out of men's Oxford shirt
To begin with this project I'll need two XL or XXL if available men's shirt (you'll see why two later)
You'll need a basic sloper of your size
Put it on your shirt and estimate the right placement you can cut the pattern of -I myself decided to cut it lower then the actual shoulder seams were
(see second pic) and to save the reinforcement shoulder piece of the shirt to decorate my new blouse with
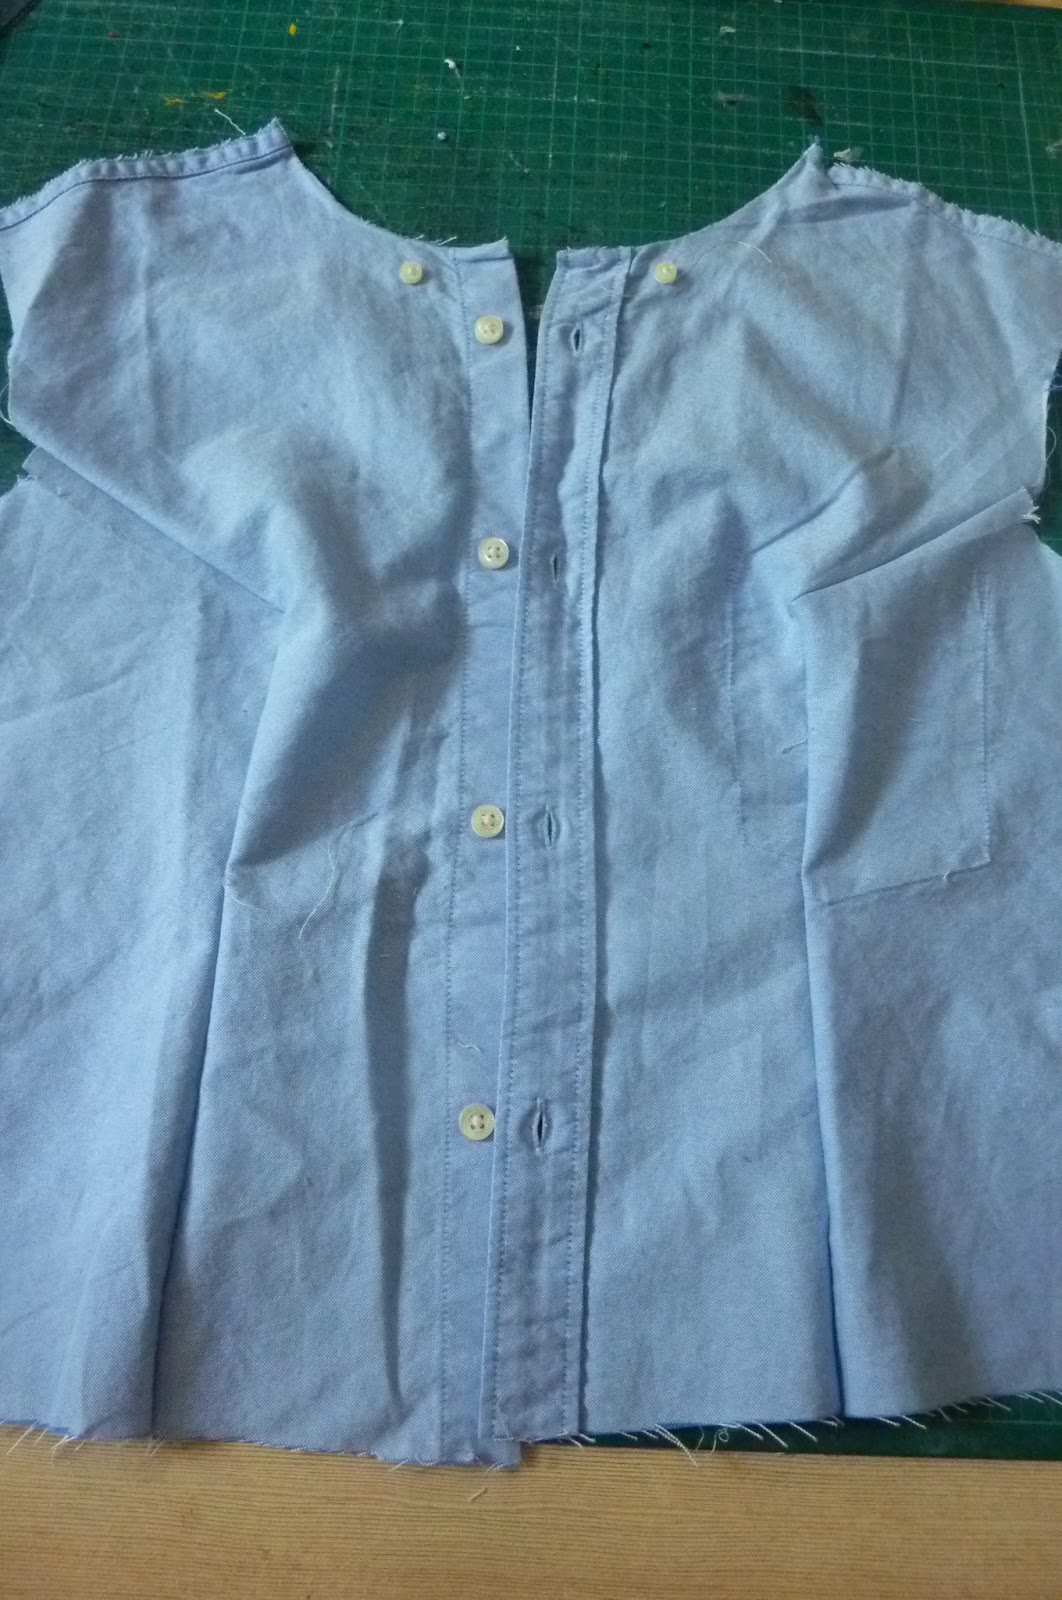
Carefully cut off the sleeves ,sides,collar and under the reinforcement to get your "fabric"
Place your pattern in the center of the placket and cut the front pieces
Mark and sew the darts
Cut the back
Mark and sew the darts
Decide where the right placement of the reinforcement on your new shirt will be
Pin it to place on the back and flip it over so you can match the front pierce
Remember that you haven't sewn the shoulders together so you have 1/2" seam allowance to take into consideration !!!
Fold the allowance in on itself as if you had sew it ,do the same to the front pieces
Put both shoulder parts close together and cut the excess of the reinforcement piece to match the cut edges of the new pattern
Sew the reinforcement piece to it's place
Cut the peplum piece of the second men's shirt you have-1 XL shirt's back was enough to cut a seamless full peplum for a size L women's shirt!
Treat the edges with bias tape or make narrow double rolled hem all around but the waist
Sew the peplum to the shirt
Now sew the collar back to the neckline
I had a small hick up at that area-my original pattern's neckline was wider then the standard men's collar ,so I had to improvise ...I used the collar from the second shirt I previously cut for the peplum,and pieced both collars together to complete the 10cm gap I had in my original to short collar (you can barely see the seams on the back ,yet the impro had actually created a very cool doubled new collar )
Cover the raw seams with bias tape for a neat finish
Here I forgot to take pictures of the process,but to make the new sleeves you just follow the same steps as with the bodice stages aka cutting the original sleeve open...removing the cuffs...placing your blouse's sleeve pattern on top and cutting the new sleeves (you may experience some difficulties with the sleeve's placket but with some jiggling I sure you'll manage )
When your sleeve is sewn together,sew the cuff back on.
NOTE- the cuff of men's shirt will be bigger then women's sloper but,I decided to leave it as is and let it overlap for an additional interest-you just need to replace the original button farther then it was or leave it as is for a more roomy style
Et Vu a La AWESOME new oxford Peplum Blouse