Showing posts with label lillybeedesign. Show all posts

Saturday, November 9, 2013

Altered Clipboard DIY- Heidi Swapp Blog Hop

Hey,Hey -have you missed me ? :D
 It's been a while since my last DIY tutorial  ha...
Today I'm going to show you how to make an Altered Clipboard from SCRATCH!
Yep,it can be done with a few simple materials (and some tools from your husband's toolbox  )
So...this is what we are going to do today

Here are the ingredients needed
  1. Hard cover from an old book
  2. Decorative cardstock
  3. Various decorations
  4. XYRON Creatopia Machine loaded with permanent adhesive cartridge
    or
  5.  XYRON glue stick
  6.  XYRON 5" Creative Station
  7. XYRON 3" Sticker Maker
  8. XYRON Mega Runner
  9. Teresa Collins 2 Hole Chipboard Punch
  10. Small piece of sanding paper
  11. A piece of beeswax 
  12. Iron
  13. Drill+ drill bit 
  14. Rivet Gun 
  15. Metal clip
Lets begin-
Take your old book and cut of one of it's covers .
 I used an old dated dictionary 

 Sand the cover to reduce the shine and give it some teeth
 Find a word  or cool sentence from  the old book - we are going to frame it later on :)
I used the description of the word "Create"

 I also did a sketch of a cute smiling bear (since my shops named Pettibear  & PettiBearKIDS and my logo is a bear ,I thought it would look really nice without looking to logoie )
If you don't draw/ sketch, you can always use a stamped image .

 To make my large scale sketch less overpowering, I decided to make it sheer by melting a small piece of beeswax between two layers of parchment paper and when melted I insert my image between the papers and iron over it making sure the melted wax is spreading evenly across the image

 See how sheer it became
 Now we are going to treat our clipped dictionary scrap of paper by giving it a nice frame
 I use my XYRON  Mega runner to apply glue on the narrow edges of the frame and glue the frame on top of my dictionary page.
After glueing ,trim the extra paper around the edges.

This sweet embossed frame came from a set of lovely frames by Heidy Swapp.
The set calls "color magic pressed paper frames"


 This is the time to assemble the composition
Run the decorative cardstock through your Creatopia Machine or apply an even coat with your XYRON Glue Stick
 I used tiny Polka Dot single sided patterned paper from Heidy Swapp collection for the background
And a 'checked by Santa 'checklist paper from the same "Believe" paper pad 
I cut the checklist paper to a narrow strip ,run it trough my 5" Creative Station and glued it on top of the background


Glued in my waxed bear sketch on top

Added my framed ephemera in

 Decorated my composition with "you are here" chipboard stickers from Lily Bee Design Destination line

 Added a  "Beautiful" wood tag from 'LOVE'  Wood Tag  collection by LYB
 And glued in one of the cute library cards from Maya Road Design ,using my XYRON  3" Sticker Maker


 I felt like some wording is in order,so I used Heidy Swapp's ‘color magic’ chipboard striped alphabet stickers for the 'ART'
American Crafts Good Tidings thickers chipboard alphabet stickers for the 'DIY'
And  'craft' word assembled with Lily Bee Design Destination Letter Stickers which were glued on top of Maya Road's  oval tag shape from Mixed Shapes Mini Chipboard Set
 The only thing left is to attach the large clip.
To do so,I needed to drill two holes in the clip itself ,but before the drilling I needed two good symmetrical marks-
 I found the best tool to make the template in  Teresa Collins NEW  2 hole punch.
By punching a piece of scrap paper I instantly had a ready to mark stencil

 Making my marks through the holes of my template

 And with my hubby's trusty Makita two holes were done ( begin the hole drilling slowly as the drill bit may slip easily from the tilted sleek  clip's surface  ,so be careful not to get hurt ! )
 I also drilled two holes through my altered board
 Attaching my large clip to the board with some paper clips

 And with  the help of my rivet gun (or whatever it's called) permanently connecting the large clip to my altered board

 The back of my board
And my awesome Altered Clipboard is DONE :)


bear_hugs

Friday, September 20, 2013

Graphic 45 / Petaloo Blog Hop 3!!! Recycled Metal Tin

O.K...Graphic 45 and Petaloo have such a great and diverse products ,that I decided to show you one more quick project you can whip up  in a matter of 10 minutes.

We all love recycling ,right?! If you just screamed "YES I AM ", then this project is just at your alley !
It's nothing new,we all have seen tins been recycled to store new products inside...I ain't going to invent the wheel for sure,just want to show you how I do it...and how easily you can do it with just a few simple handy tools
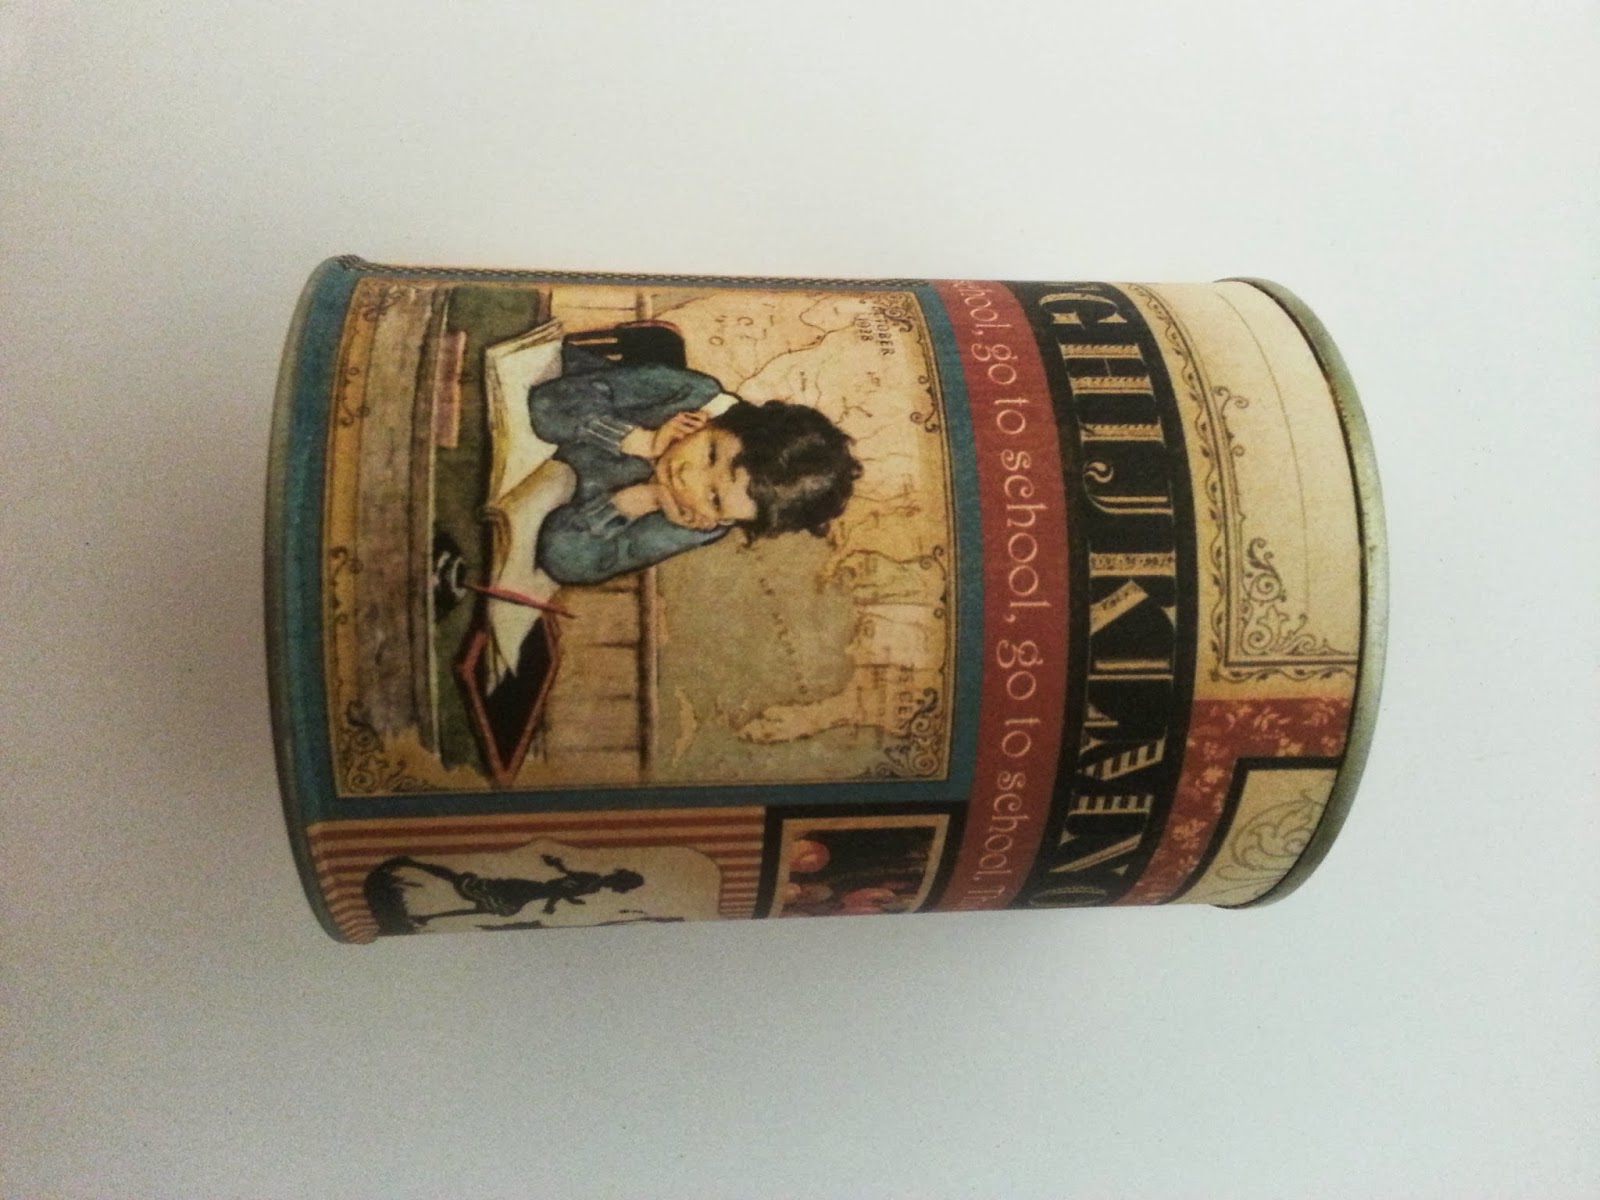
So, this is what  we are going to do today- an Upcycled Altered Coffee Tin
 photo recycled_coffee_tin_zpse3c66fc6.gif


This is how I did it-
You'll gonna need:
Metal Tin of some sort if you can't find the one I used
Graphic 45 "Place in Time" cardstock- September Cut-Aparts 4500608
Ricrac Ribbon
Petaloo Floral Embellishments -Darjeeling Mini Mix x 8Autumn ITEM: 1462-100
XYRON high tack 3/8"  Glue Dots
Petaloo Seaside Crochet Lace Fancy Trims-2.25 yds Aqua ITEM: 1482-129
Teresa Collins Thick Foam Squares (From her new Adhesive Kit )

So this is my  metal tin-it's an 'Elite' brand Turkish roasted coffee (I think it been sold in the US as well ;)
 First of, take your cardstock wrap it around the tin and mark the place where it overlaps
 Cut it to size.
My tin was 10.5" wide X 4.5" tall
 Run the cut cardstock through your 5" Creative Station loaded with Permanent adhesive cartridge
Wrap the cardstock around the perimeter of the tin

 Look at this cute kid concentrating ...thinking what we will do to him next :D
 Now what I like to do is, to overlap the "seam" with another piece of cardstock to secure the joints farther .
I cut another piece of cardstock,run it through my XYRON Sticker Maker

 And then figured out, that I just applied glue on the wrong side of my strip -shoot ;P
Thank God ,I have my XYRON Adhesive Eraser ,to fix my mistake-I rub it on the glue and the magical little thing have removed all traces of glue from my now clean and ready for a second chance decoration
 Second time is a charm
 See how I glued my cardstock strip right over the seam-now it will never open up.
 I continue the decoration process by applying glue to my ricrac ribbon,using my XYRON Tape Runner
And here is a TIP- use the leftover paper remaining from your Sticker Maker  underneath the ribbon to keep your workspace clear of glue residue while applying adhesive with your runners
 Adhering the ricrac ribbon in place
 Add more decorations....
Now if you're interested to know,how I decide where to put what, my rule is simple-
I look for 3D decorations similar in shapes and colours  to my printed cardstock elements and apply the 3D shapes on top.
  For example, here you see the ecru dot printed  on the cardstock...I looked for a similar 3D shape from the same color family and applied it on top

Same goes for other decorations- see how the graphic above has these orange and yellow apples and green leaves...I will find some 3D shapes in the same color scheme to decorate and blend with the background underneath .

Here,I'm adding some graphic 45 banners 


Time for some flowers :)
To connect my Petaloo blooms to the tin,I'm using XYRON 3/8" high tack glue dots

Gluing my flowers directly on top of  banners in place where the yellow/orange apples used to be
Using the same color palette to the printed graphic
 Now adding some  Steampunk gear die cuts by Piccoloto to my design
I decided to add it because of two reasons-first,I find it funny to add watch's gear to a graphic that has calculations printed on...it's like brain slowly turning it's gear to solve  a math problem :D
But more importantly, the 'Steampunk Spells' banner I used has the same gears printed design (remember, keep connecting your 3D shapes to your printed matter )


Use your 1.5" XYRON Sticker Maker to apply an even coat of adhesive to the die cuts
and glue them in place

Add some more gear decorations.
Graphic45 has gear die cuts   in the 'Steampunk Spells' banner collection,same collection I took the above ^^ banners from.
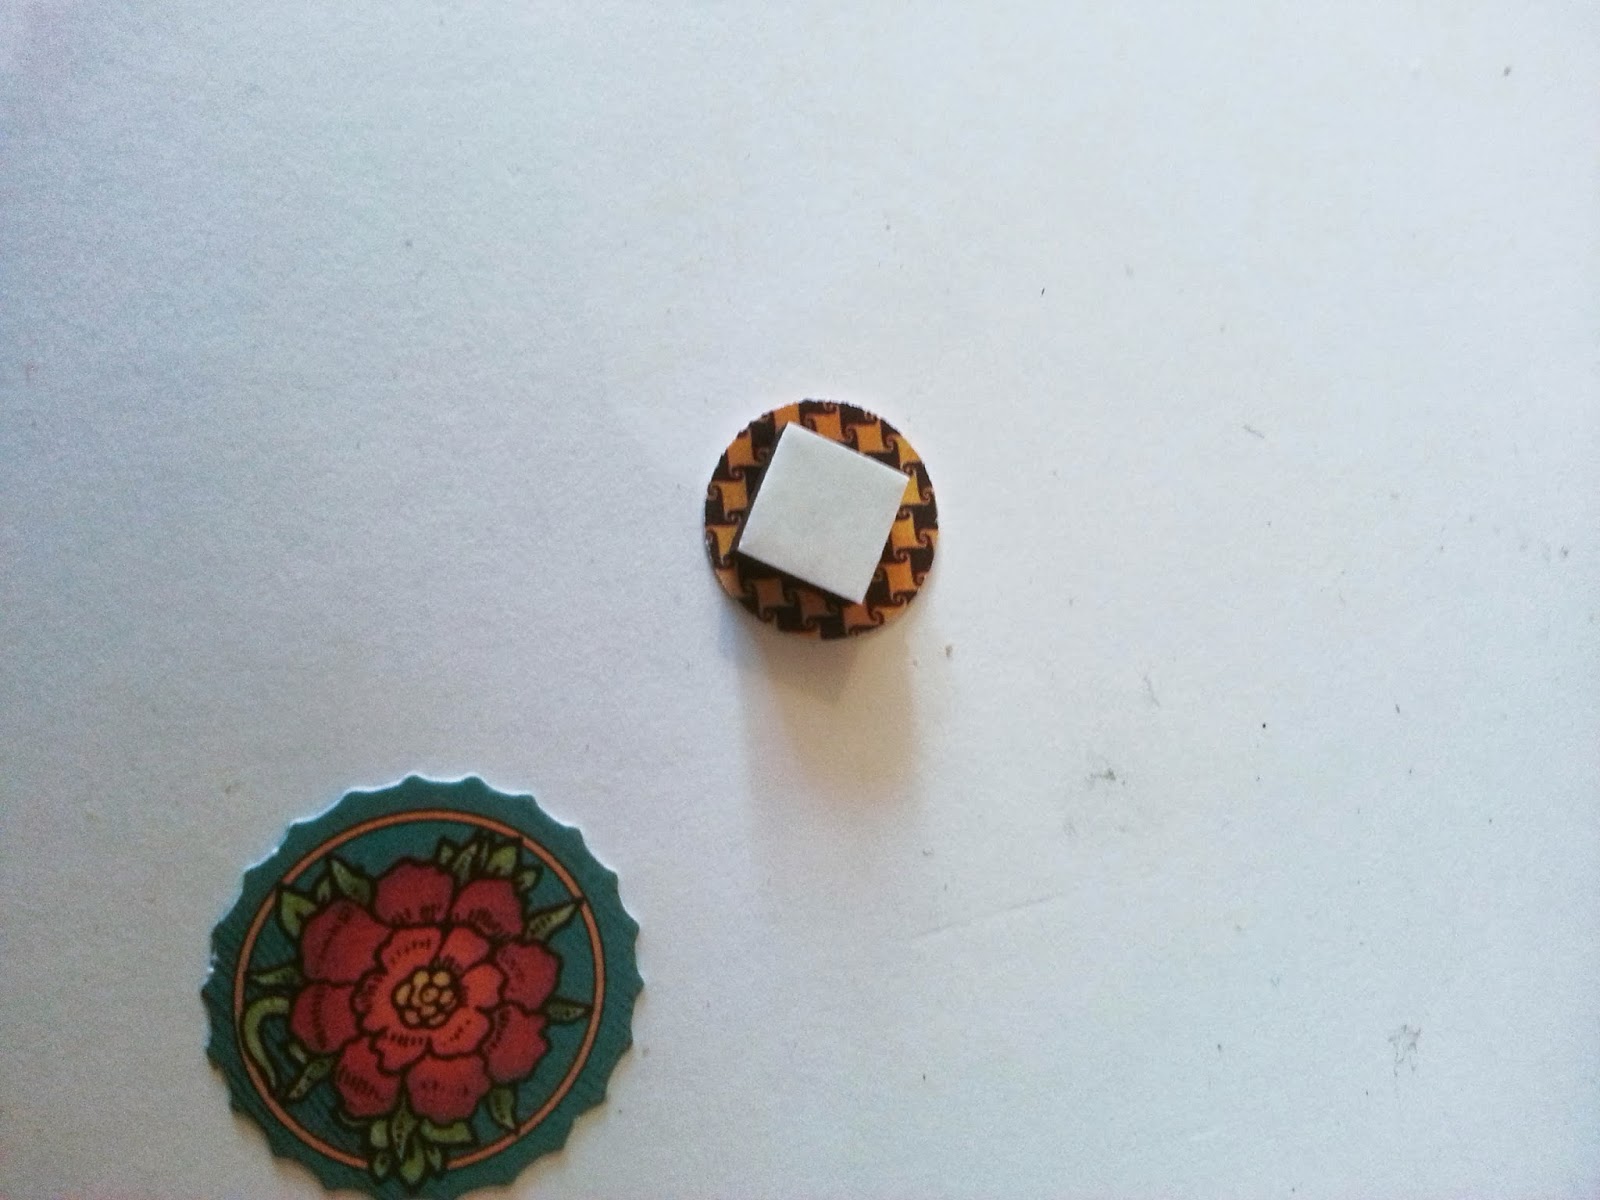
To make the die pop,I used Teresa Collins Adhesive Foam Squares


 Thinking some fancy lace ribbons by Petallo are in place  :)
Glue them in with the XYRON glue dots


 And my tin is ready for use!
Since it's a metal tin,you can   hang it on magnetic trails-how cool is that haa 


I added some labels to mine and store  dye chemicals inside .
bear_hugs