Showing posts with label recycle. Show all posts

Tuesday, March 25, 2014

Documented Life Project, week 9 Collage something you recycled.

By Viki Tiamat

February 22, 2014 -Week Nine
 Challenge - Collage something you recycled

OMGosh...Am I LOVING this Documented Life challenge or am I LOVING this challenge :)
Yep, loving it!!!!
This week was just at my alley !!!! One of the things I do best is upcycling ...
And this challenge couldn't come in a better time either-
I'm just returning from a HUGE lifestyle and DIY event that took place in Tel Aviv ,teaching Swimsuit  Designing & Drafting masterclass at,and if I wouldn't collect lots of cool memorabilia ,it would  have been a total failure from my behave ...
But don't worry,I did and this challenge was just perfect for smaching it all on a page of my journal 

So,while staying in Tel Aviv for the event weekend,me and the hubs came across this AWESOME restaurant called "Pua" .
It's a really great place to eat in !!! The food was delish and the ambiance is amazing!!
All the furniture in the place is collected from the flea market and everything in it is up for sale-how cool is that?! So if you by chance passing Jaffa's flea market, the restaurant is located in an alley of the market itself .
And the cherry on top is that they will wrap your take out in a super cool doggie bag!!!!
They upcycle old newspaper from India ,to make a paper bag for your leftovers !!!
That been said,of course I kept the bag and this would be the base of my week 9 layout
   And I even didn't took it apart ,instead I just folded it as it was originally before the food came in ,and the fold became my pocket 

To decorate the front I left the original take-out sticker the restaurant put on the doggie bag,cause I actually LOVED the graphic design of the little vintage girl 
Not to leave the girlie alone and sad as is,I gave her some robot friends :)
The right one is a work of art by Tal Tenne Czaczkes -a great Israeli artist, a really nice and vibrant lady in person and one of the teachers from the masterclasses of the Craft Delly event.
The bottom lady robot was a clothes tag from Castro Kids I kept,cause it's so frickn cute

If you look on the bottom half of my layout,you'll find the promotional postcard from the Delly event itself (the black one) and on the right side ,another beautiful promo Art postcard from a fellow artist and teacher who had teach a masterclass at the event ,named Hagit Azoulay Rosanes -a super talented artist as you may see

The "Made in Tel Aviv" thingy in the middle of the layout,is a receipt  from a super cool shop in the "Hatachana" compound in Tel Aviv (where the Craft Delly event took place) in which lots of designed memorabilia about Tel Aviv and it's glory been sold

Finally I added some bits of washi and Ta Da, my recycled layout is complete :)

as seen in my Art Journal
Since I loved the concept of this week's challenge so much ,I decided to capture the process of "making of " and make a video for you ,my crafty peeps.
So here it is-hope you'll like it :)

*It's my very first time to edit a video,so bare with me and my coughing and forgetting to mute the sound at times :D 


bear_hugs

Friday, September 20, 2013

Graphic 45 / Petaloo Blog Hop 3!!! Recycled Metal Tin

O.K...Graphic 45 and Petaloo have such a great and diverse products ,that I decided to show you one more quick project you can whip up  in a matter of 10 minutes.

We all love recycling ,right?! If you just screamed "YES I AM ", then this project is just at your alley !
It's nothing new,we all have seen tins been recycled to store new products inside...I ain't going to invent the wheel for sure,just want to show you how I do it...and how easily you can do it with just a few simple handy tools
So, this is what  we are going to do today- an Upcycled Altered Coffee Tin
 photo recycled_coffee_tin_zpse3c66fc6.gif


This is how I did it-
You'll gonna need:
Metal Tin of some sort if you can't find the one I used
Graphic 45 "Place in Time" cardstock- September Cut-Aparts 4500608
Ricrac Ribbon
Petaloo Floral Embellishments -Darjeeling Mini Mix x 8Autumn ITEM: 1462-100
XYRON high tack 3/8"  Glue Dots
Petaloo Seaside Crochet Lace Fancy Trims-2.25 yds Aqua ITEM: 1482-129
Teresa Collins Thick Foam Squares (From her new Adhesive Kit )

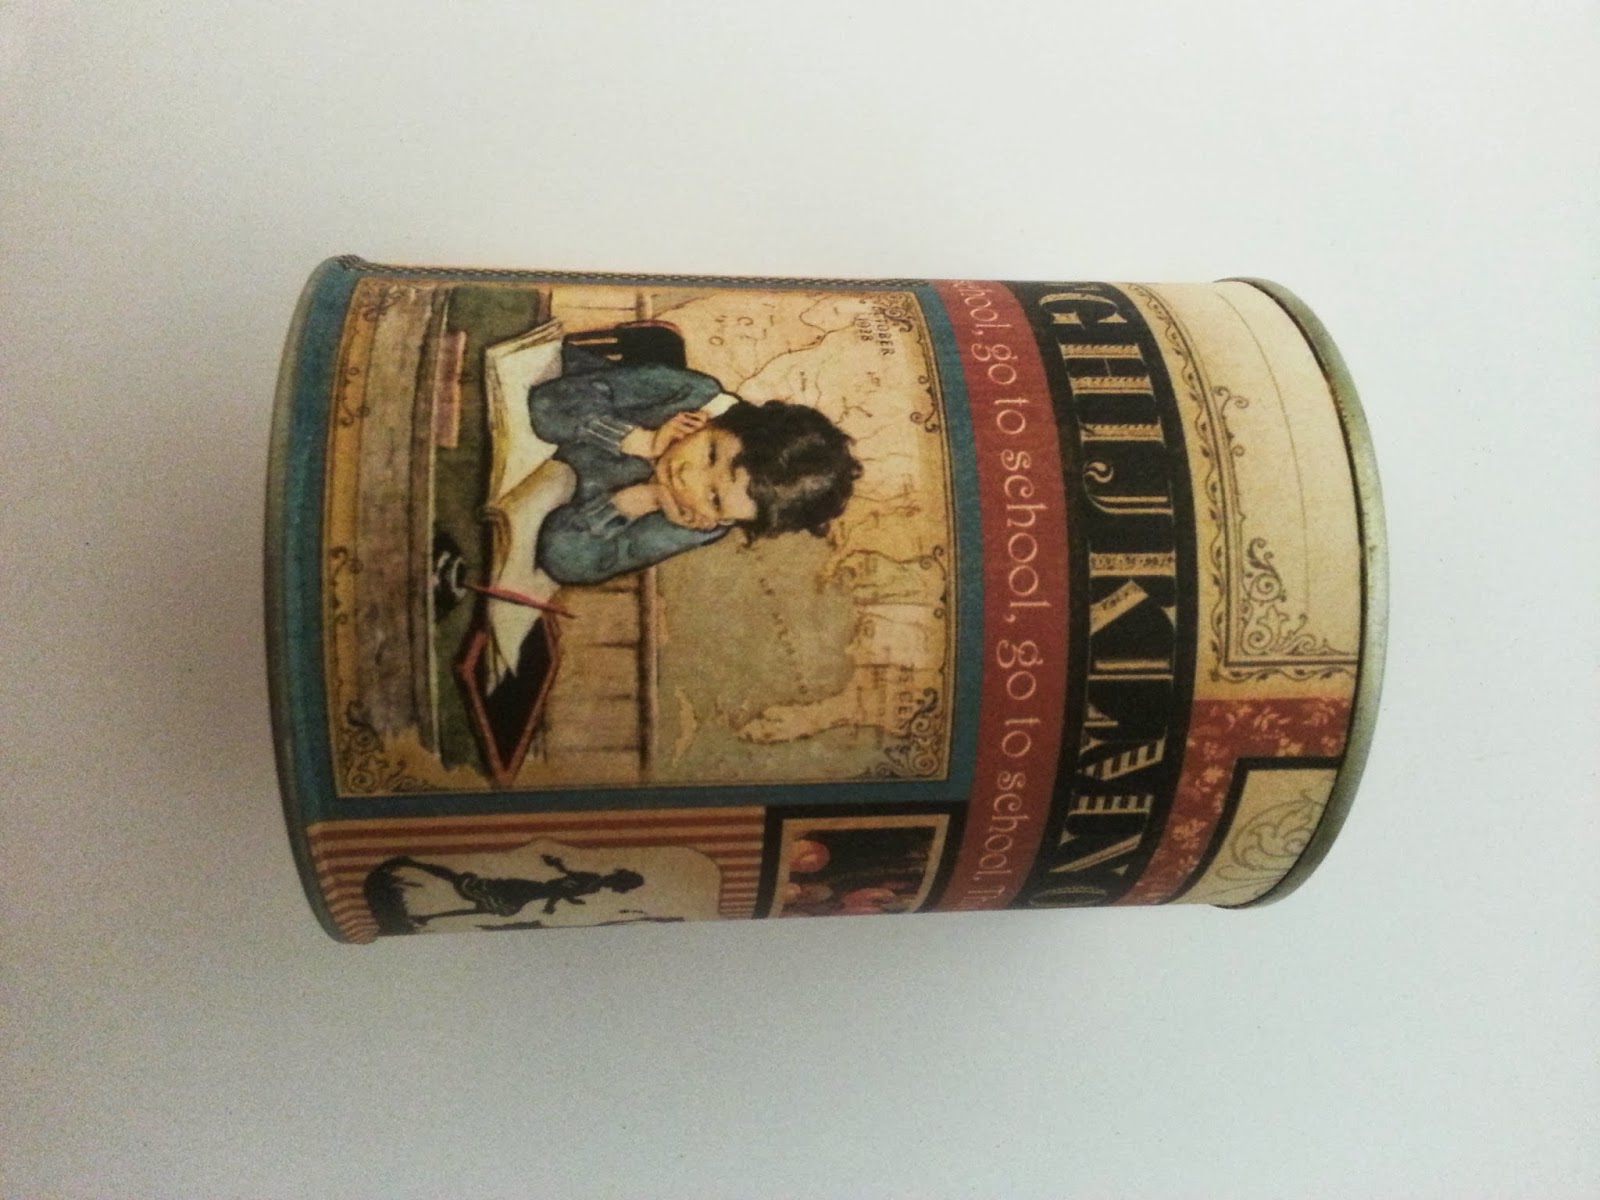
So this is my  metal tin-it's an 'Elite' brand Turkish roasted coffee (I think it been sold in the US as well ;)
 First of, take your cardstock wrap it around the tin and mark the place where it overlaps
 Cut it to size.
My tin was 10.5" wide X 4.5" tall
 Run the cut cardstock through your 5" Creative Station loaded with Permanent adhesive cartridge
Wrap the cardstock around the perimeter of the tin

 Look at this cute kid concentrating ...thinking what we will do to him next :D
 Now what I like to do is, to overlap the "seam" with another piece of cardstock to secure the joints farther .
I cut another piece of cardstock,run it through my XYRON Sticker Maker

 And then figured out, that I just applied glue on the wrong side of my strip -shoot ;P
Thank God ,I have my XYRON Adhesive Eraser ,to fix my mistake-I rub it on the glue and the magical little thing have removed all traces of glue from my now clean and ready for a second chance decoration
 Second time is a charm
 See how I glued my cardstock strip right over the seam-now it will never open up.
 I continue the decoration process by applying glue to my ricrac ribbon,using my XYRON Tape Runner
And here is a TIP- use the leftover paper remaining from your Sticker Maker  underneath the ribbon to keep your workspace clear of glue residue while applying adhesive with your runners
 Adhering the ricrac ribbon in place
 Add more decorations....
Now if you're interested to know,how I decide where to put what, my rule is simple-
I look for 3D decorations similar in shapes and colours  to my printed cardstock elements and apply the 3D shapes on top.
  For example, here you see the ecru dot printed  on the cardstock...I looked for a similar 3D shape from the same color family and applied it on top

Same goes for other decorations- see how the graphic above has these orange and yellow apples and green leaves...I will find some 3D shapes in the same color scheme to decorate and blend with the background underneath .

Here,I'm adding some graphic 45 banners 


Time for some flowers :)
To connect my Petaloo blooms to the tin,I'm using XYRON 3/8" high tack glue dots

Gluing my flowers directly on top of  banners in place where the yellow/orange apples used to be
Using the same color palette to the printed graphic
 Now adding some  Steampunk gear die cuts by Piccoloto to my design
I decided to add it because of two reasons-first,I find it funny to add watch's gear to a graphic that has calculations printed on...it's like brain slowly turning it's gear to solve  a math problem :D
But more importantly, the 'Steampunk Spells' banner I used has the same gears printed design (remember, keep connecting your 3D shapes to your printed matter )


Use your 1.5" XYRON Sticker Maker to apply an even coat of adhesive to the die cuts
and glue them in place

Add some more gear decorations.
Graphic45 has gear die cuts   in the 'Steampunk Spells' banner collection,same collection I took the above ^^ banners from.
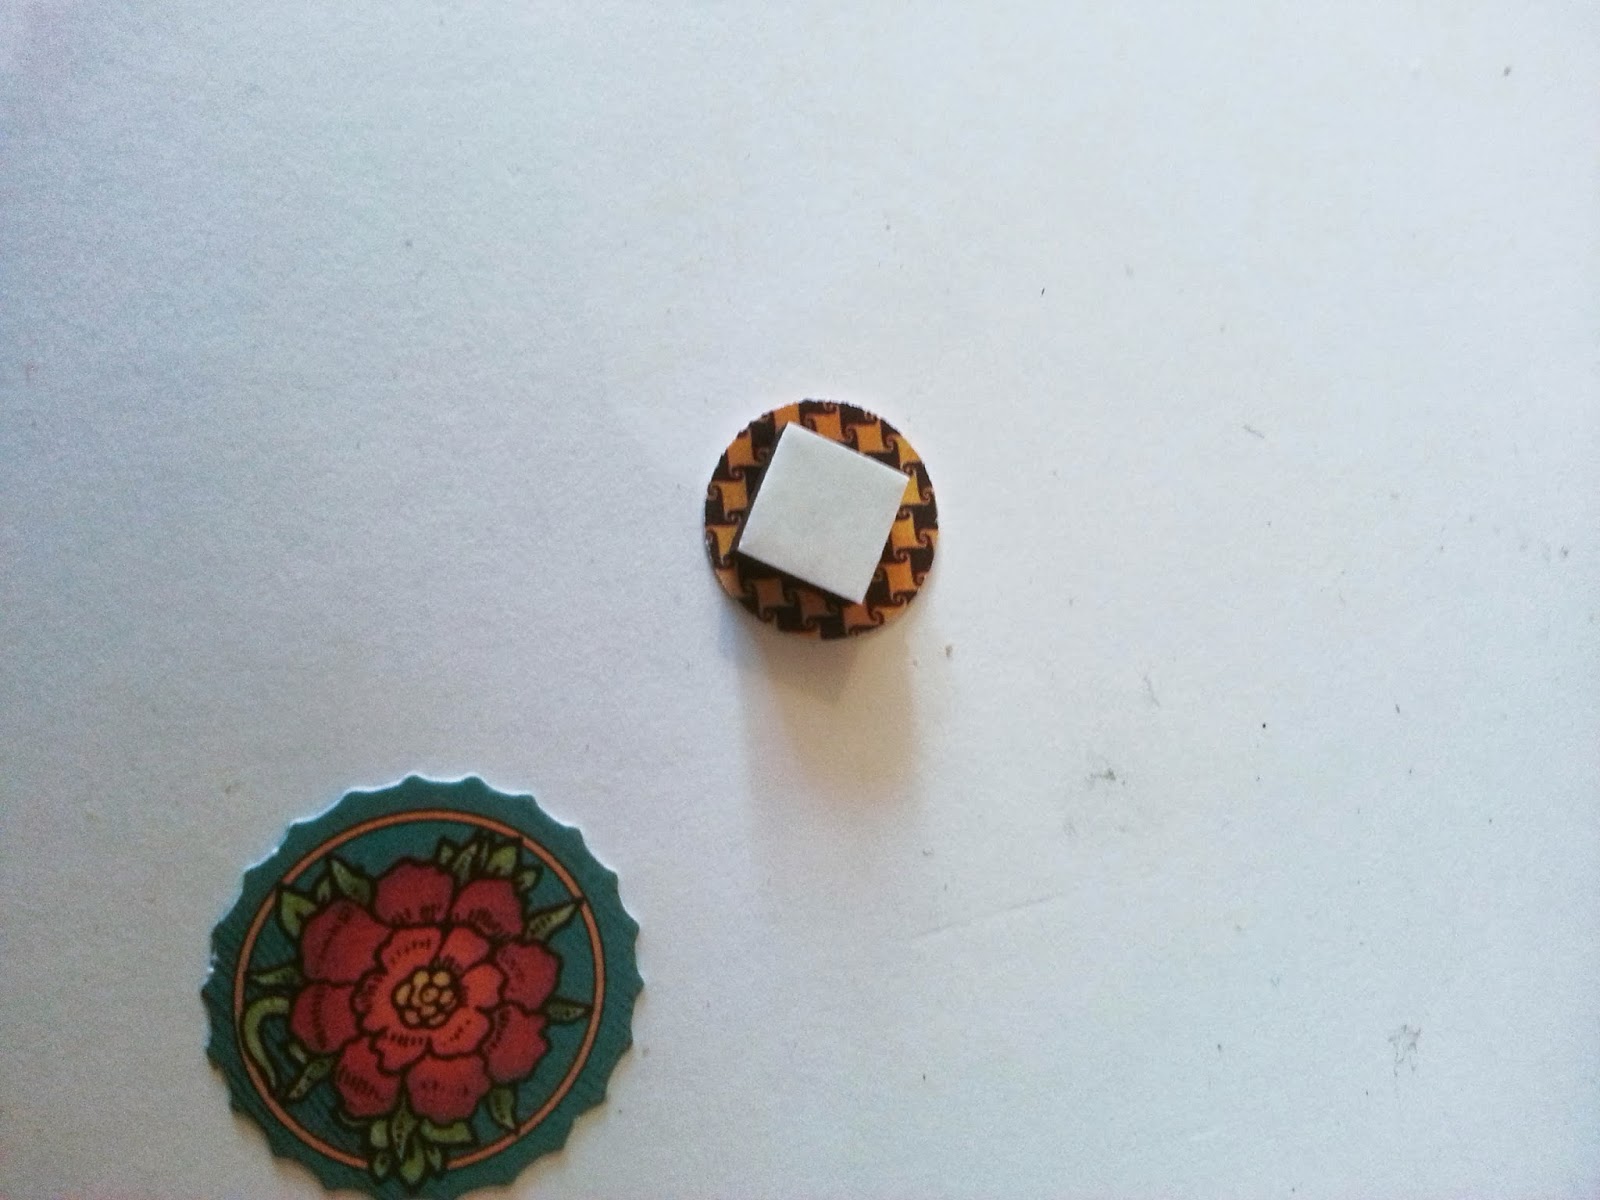
To make the die pop,I used Teresa Collins Adhesive Foam Squares


 Thinking some fancy lace ribbons by Petallo are in place  :)
Glue them in with the XYRON glue dots


 And my tin is ready for use!
Since it's a metal tin,you can   hang it on magnetic trails-how cool is that haa 


I added some labels to mine and store  dye chemicals inside .
bear_hugs

Friday, May 10, 2013

Play Kitchen from ALL recycled materials-DIY

O.K, so I have been wanting to make a pretend kitchen for Sierra for a long time now (for more than two years  for a matter of fact ) -even since we had move from Haifa to Rosh Ha-Niqra and threw away her ugly plastic kitchen which I hated anyway...
And finally I strike gold-my best friend Ola,decided to renovate her kitchen and while taking it down  I asked her if she can give me the wooden doors from her old cabinets ...
I could have take a full unit and make it into a quick kitchen like you see it done  all over the web, but I wanted something a bit different and unique...something that is more ME

So after my hubby complained about me collecting other people garbage ,I had him drive to my friend's house and take all the doors from her and bring them to me *what an excitement :D *

Frankly,  the idea of making a kitchen out of the doors came about a week after my hubbs had bring them in  :p
And during all that week ,he kept trying to convince me to throw them away...But I stood on my own and kept them till the muses stroke-and what a blessing that is,(that I stood on my own) as the kitchen turned out AMAZING !!!!
I'll let you judge :)

Here is the step by step of making a dream kitchen
All you need is 6 doors and some creativity :)

Making the base = 2 doors


3rd door for the countertop

4th door for the kitchen's backsplash 
Also ,you'll need a bowl for  the sink and some creative ideas for the burners-see what I came up with for the burners next---and remember this cute little door as well

Yep,you see it correctly-these are bike's gear (from my hubby's old broken bike)
 I stuffed a plastic bottle cap in the middle of the gear and spay-painted the whole thing black


 looks gooooood

Now for the base of the burners- take an old baking sheet and spray-paint it with a metalic paint to give it a shiny silvery look (unless your sheet is already silver,then you can skip the painting step...but mine was VERY old and full of rust ,so I had to paint it prior )
 I decided to paint the bowl with the same spray,just to give both items a uniform look

 Now the beautifying procedure begins 
Painting the old doors white

 Sierra is helping out :)

 The finished door after I gave it some distressing treatment 

 Time to make a hole for the sink (hubby came into the picture  ...as if I can't draw a circle myself :D )

Marking....Drilling...and
  
The  power tools entered into the picture 

Now drilling holes for the cooker's handles
How cool is my cooker...HA :D

O.K dear husband,as long as you are here, and all the power tools are out... 
 I decided that the kitchen needs a shelf  
*hubby doesn't happy-needs to work some more :p

 Cutting the shelf to size

 Installing the shelf inside the unit

 Now Mama needs a panel for the pretend stove :) 
*My  private handyman  attaching the knobs after I had him make the panel of course :D
HE grouchy ...Me  HAPPY!!

Finishing touches-
 Curtain to cover the sink and straw container to play the role of the stove

 Hanging rod and a little metal tin from IKEA to complete the look 
(something is missing on the left hand side :( uuufff )


 Close up on the cooker and burners

Had a lovely elephants tile on an iron base towel hook laying around for years without a use,so finally it has  found it's place in the family

Placed the kitchen  unit inside the playhouse we just finished building for our two ladies
See my previous blog post about the 'making of' the playhouse  (it's made of very special ingredients ;)

 Well...you may think that all is ready, but after seeing Sierra and Sheluvi playing in the house with the kitchen inside,I decided that a table they can eat or draw on  is missing ...
SO I made a table out of the 6th door

 Table's leg -
At the beginning,I used a simple 4x4 beam,but I really wanted to make it more fancier than just a 4 by 4 ...
Lucky me,my dear husband has found this old chandelier with a lovely wooden pole to it a few weeks ago (near the garbage of course)


So,I dismembered it (Dexter me :D )
 (I used the metal base for a very cool project ,I'll blog about in the following post-stay tuned )
 Unfortunately , the lovely curved wooden pole I took from the chandelier ,was a bit to short,so I had to find a plan of how to make it higher ...
After thinking about it for a while ,I found a perfect solution- I took a small piece of  wood, drilled a hole in the middle and screw the wooden pole on, to rise it to the right hight


 Ta Da

Now painting white again :)

 Screwed the leg to the table top and now standing and admiring the result from the side :D
 Yet,I haven't done with the kitchen....I decided to build a top cabinet for a total bliss

It was made of different bits and pieces of wood beams we had left from different DIY projects
Very simple construction too-so easy,I didn't even call my hubs for help!

 After painting it white ,I screwed it to the playhouse
 But still something was missing...a door!!!

Now that wasn't a problem at all- remember the little door from the beginning of the post? 
Well I have 3 wooden doors laying around  in my house for YEARS now...
They were firstly  made for me way before Sierra was born!
I love their rustic barn style look, and refused to throw them when we took apart the cabinet they were attached to.
Finally, after about three years of hanging around without any purpose and with a continuing danger of been thrown out by my dear second half ,I found them a  job :D

Looking good ,my dear :p 

I hang the door on a piano hinges ,but for some reason,it refused to stay close (I guess, something is not leveled in the playhouse -or the house itself...or the cabinet I made...)
 Anyway,yet again,I had to find a creative solution to the problem!
I must say,I'm so happy that I am a junk collector...as after searching for some kind of lock to solve my unleveled door issue ,I found this industrial thingy which my hubby took apart from an old pallet  and it gave a PERFECT fix to my problem and looks super cool on a rustic kitchen 

Check out the cool ceramic plates my father in law bought for me at our local flea market :)
The threesome works so great with the total look of the playhouse 

 And how awesome is the bird nest on the roof ,ha ?! 
Hubby found two of these thrown on the ground in one of his walks with our little ladies


 And here are the rest of my rustic barn  doors peaking out-waiting to be hung ...

Amazing what can be done with reclaimed goods/ other's garbage , haa 
It's a good thing not everybody are aware of this^^...:D 
Otherwise I couldn't have found all these awesome treasures and make this wonderful kitchen for my girls :)


So ,before you throw an old door/chandelier or even a hinge ,think about it !!!!


bear_hugs