Showing posts with label reuse. Show all posts

Tuesday, March 25, 2014

Documented Life Project, week 9 Collage something you recycled.

By Viki Tiamat

February 22, 2014 -Week Nine
 Challenge - Collage something you recycled

OMGosh...Am I LOVING this Documented Life challenge or am I LOVING this challenge :)
Yep, loving it!!!!
This week was just at my alley !!!! One of the things I do best is upcycling ...
And this challenge couldn't come in a better time either-
I'm just returning from a HUGE lifestyle and DIY event that took place in Tel Aviv ,teaching Swimsuit  Designing & Drafting masterclass at,and if I wouldn't collect lots of cool memorabilia ,it would  have been a total failure from my behave ...
But don't worry,I did and this challenge was just perfect for smaching it all on a page of my journal 

So,while staying in Tel Aviv for the event weekend,me and the hubs came across this AWESOME restaurant called "Pua" .
It's a really great place to eat in !!! The food was delish and the ambiance is amazing!!
All the furniture in the place is collected from the flea market and everything in it is up for sale-how cool is that?! So if you by chance passing Jaffa's flea market, the restaurant is located in an alley of the market itself .
And the cherry on top is that they will wrap your take out in a super cool doggie bag!!!!
They upcycle old newspaper from India ,to make a paper bag for your leftovers !!!
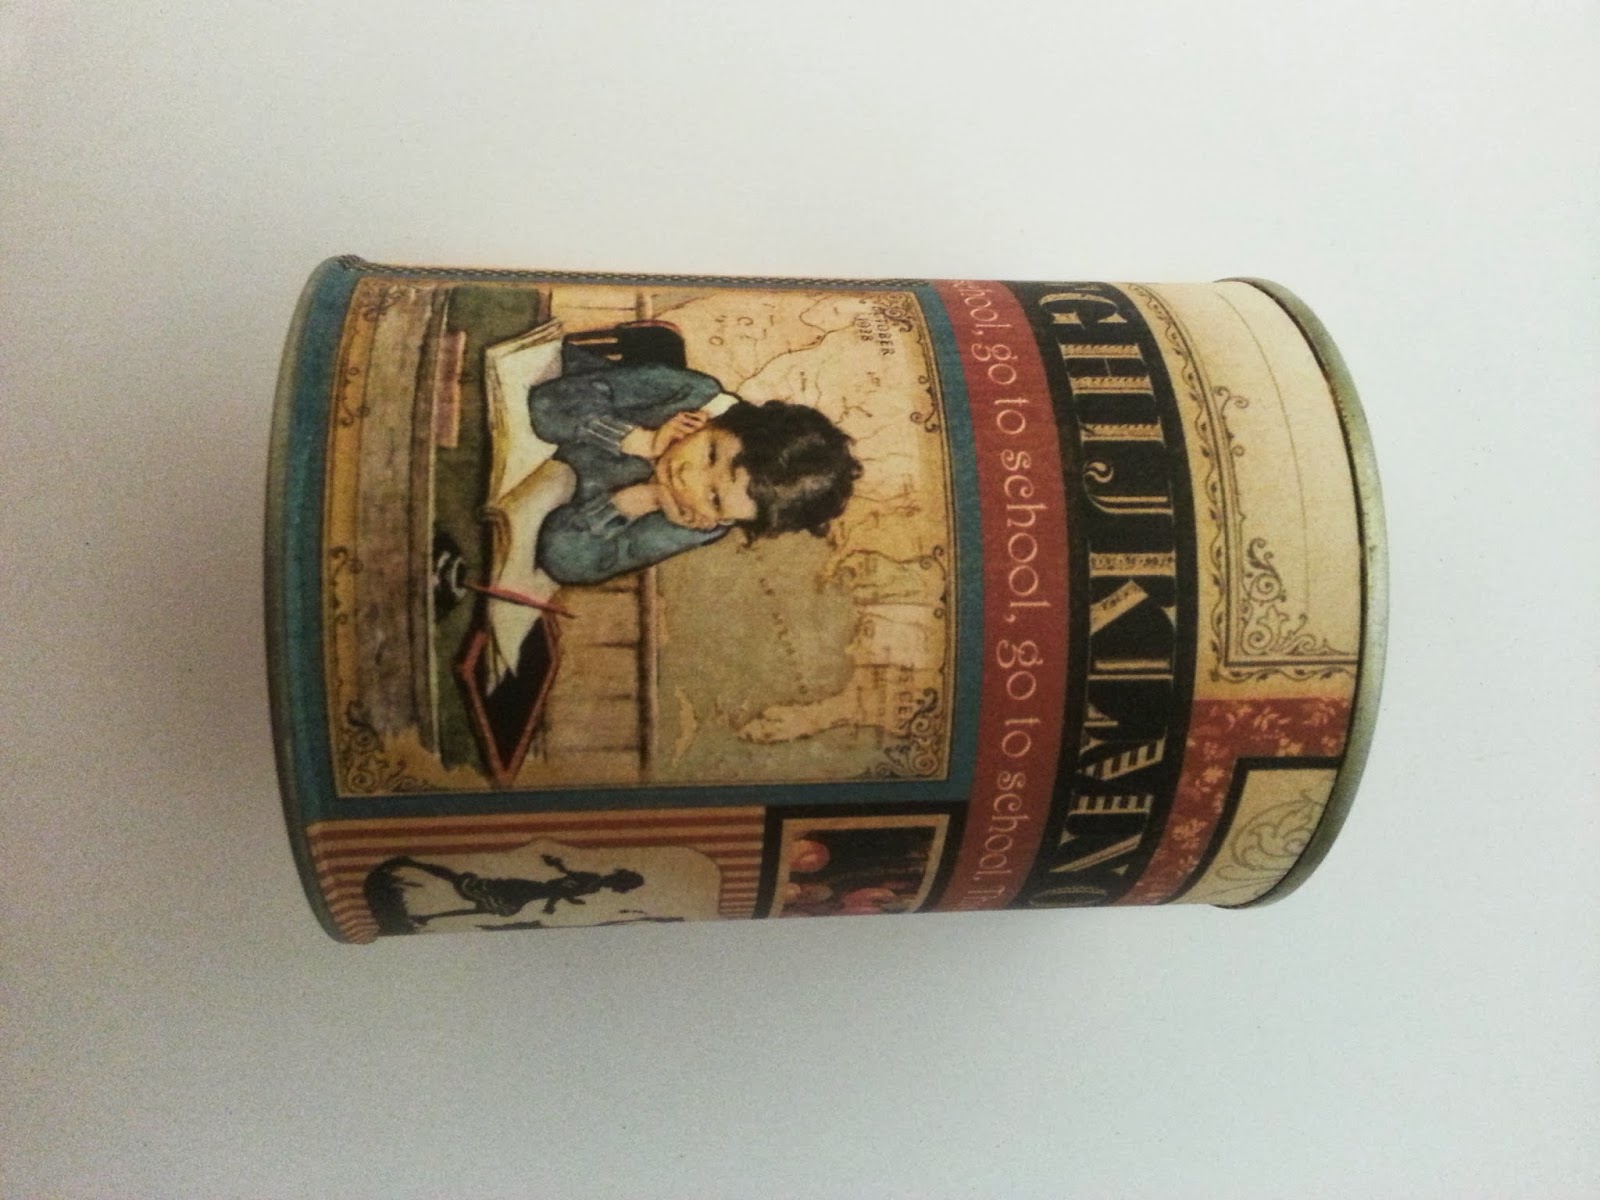
That been said,of course I kept the bag and this would be the base of my week 9 layout
   And I even didn't took it apart ,instead I just folded it as it was originally before the food came in ,and the fold became my pocket 

To decorate the front I left the original take-out sticker the restaurant put on the doggie bag,cause I actually LOVED the graphic design of the little vintage girl 
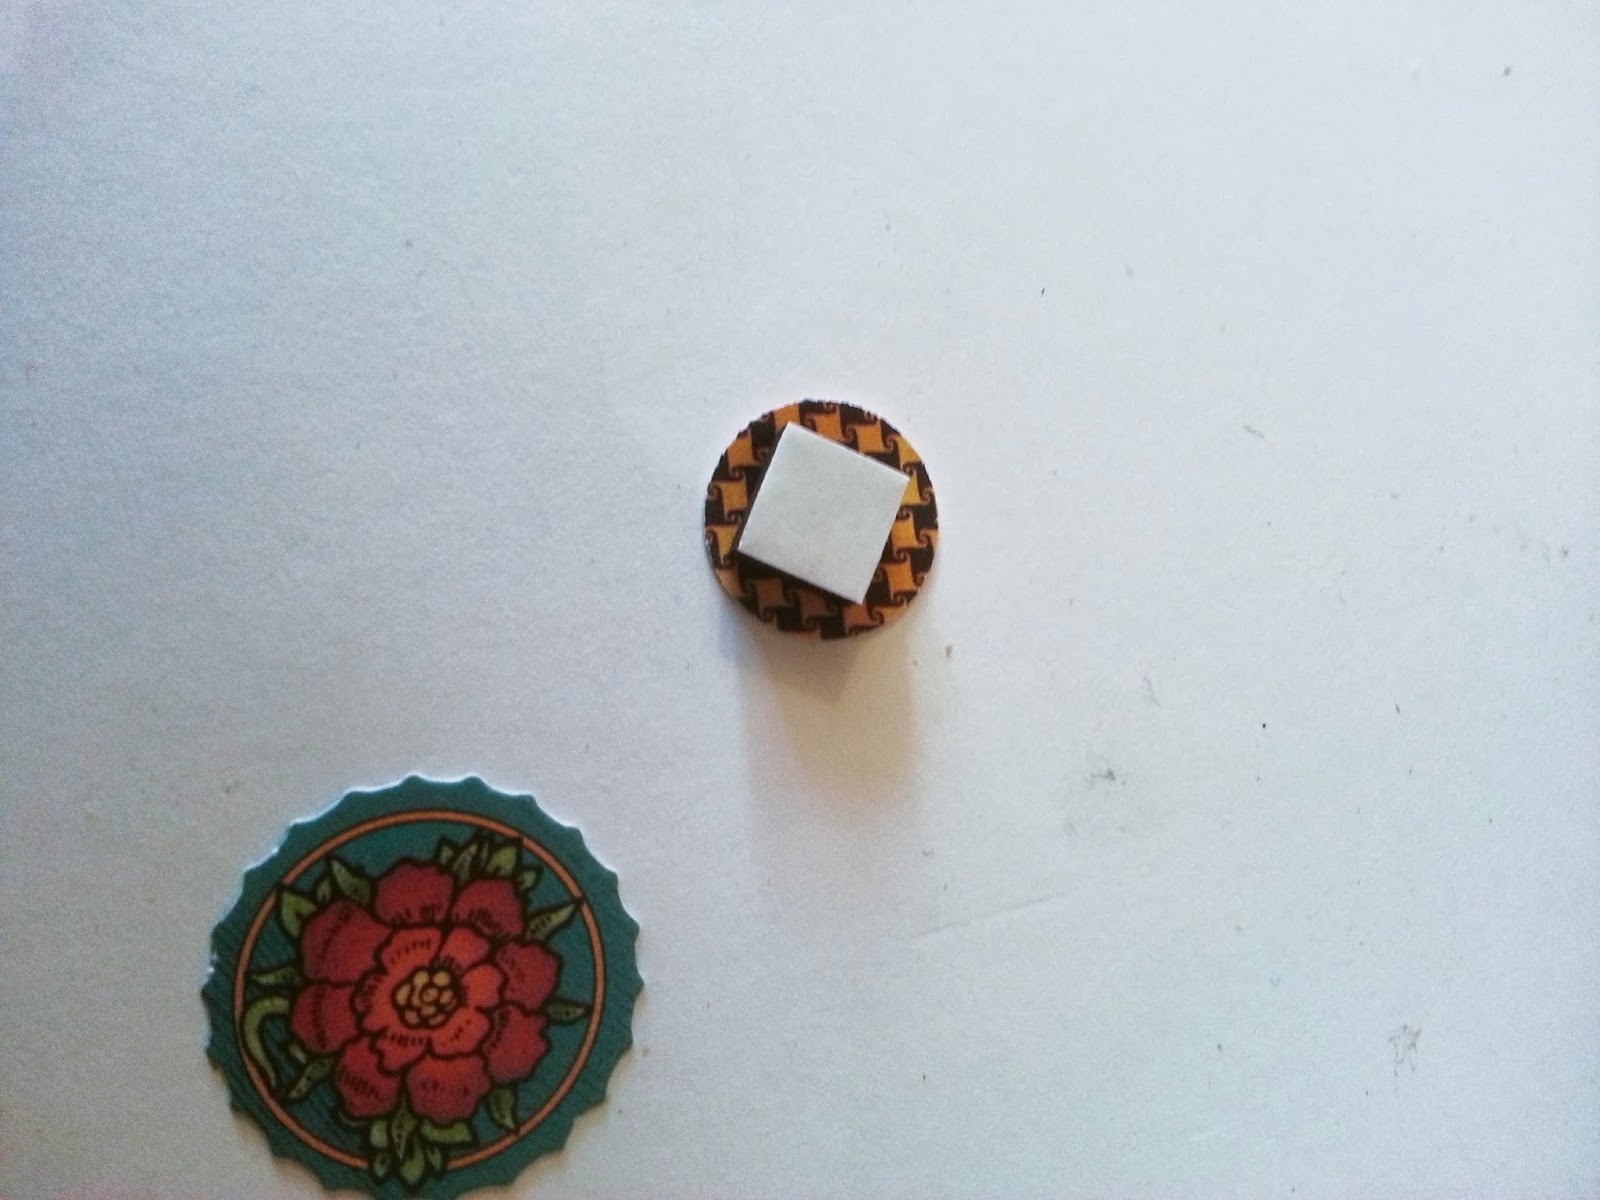
Not to leave the girlie alone and sad as is,I gave her some robot friends :)
The right one is a work of art by Tal Tenne Czaczkes -a great Israeli artist, a really nice and vibrant lady in person and one of the teachers from the masterclasses of the Craft Delly event.
The bottom lady robot was a clothes tag from Castro Kids I kept,cause it's so frickn cute

If you look on the bottom half of my layout,you'll find the promotional postcard from the Delly event itself (the black one) and on the right side ,another beautiful promo Art postcard from a fellow artist and teacher who had teach a masterclass at the event ,named Hagit Azoulay Rosanes -a super talented artist as you may see

The "Made in Tel Aviv" thingy in the middle of the layout,is a receipt  from a super cool shop in the "Hatachana" compound in Tel Aviv (where the Craft Delly event took place) in which lots of designed memorabilia about Tel Aviv and it's glory been sold

Finally I added some bits of washi and Ta Da, my recycled layout is complete :)

as seen in my Art Journal
Since I loved the concept of this week's challenge so much ,I decided to capture the process of "making of " and make a video for you ,my crafty peeps.
So here it is-hope you'll like it :)

*It's my very first time to edit a video,so bare with me and my coughing and forgetting to mute the sound at times :D 


bear_hugs

Friday, September 20, 2013

Graphic 45 / Petaloo Blog Hop 3!!! Recycled Metal Tin

O.K...Graphic 45 and Petaloo have such a great and diverse products ,that I decided to show you one more quick project you can whip up  in a matter of 10 minutes.

We all love recycling ,right?! If you just screamed "YES I AM ", then this project is just at your alley !
It's nothing new,we all have seen tins been recycled to store new products inside...I ain't going to invent the wheel for sure,just want to show you how I do it...and how easily you can do it with just a few simple handy tools
So, this is what  we are going to do today- an Upcycled Altered Coffee Tin
 photo recycled_coffee_tin_zpse3c66fc6.gif


This is how I did it-
You'll gonna need:
Metal Tin of some sort if you can't find the one I used
Graphic 45 "Place in Time" cardstock- September Cut-Aparts 4500608
Ricrac Ribbon
Petaloo Floral Embellishments -Darjeeling Mini Mix x 8Autumn ITEM: 1462-100
XYRON high tack 3/8"  Glue Dots
Petaloo Seaside Crochet Lace Fancy Trims-2.25 yds Aqua ITEM: 1482-129
Teresa Collins Thick Foam Squares (From her new Adhesive Kit )

So this is my  metal tin-it's an 'Elite' brand Turkish roasted coffee (I think it been sold in the US as well ;)
 First of, take your cardstock wrap it around the tin and mark the place where it overlaps
 Cut it to size.
My tin was 10.5" wide X 4.5" tall
 Run the cut cardstock through your 5" Creative Station loaded with Permanent adhesive cartridge
Wrap the cardstock around the perimeter of the tin

 Look at this cute kid concentrating ...thinking what we will do to him next :D
 Now what I like to do is, to overlap the "seam" with another piece of cardstock to secure the joints farther .
I cut another piece of cardstock,run it through my XYRON Sticker Maker

 And then figured out, that I just applied glue on the wrong side of my strip -shoot ;P
Thank God ,I have my XYRON Adhesive Eraser ,to fix my mistake-I rub it on the glue and the magical little thing have removed all traces of glue from my now clean and ready for a second chance decoration
 Second time is a charm
 See how I glued my cardstock strip right over the seam-now it will never open up.
 I continue the decoration process by applying glue to my ricrac ribbon,using my XYRON Tape Runner
And here is a TIP- use the leftover paper remaining from your Sticker Maker  underneath the ribbon to keep your workspace clear of glue residue while applying adhesive with your runners
 Adhering the ricrac ribbon in place
 Add more decorations....
Now if you're interested to know,how I decide where to put what, my rule is simple-
I look for 3D decorations similar in shapes and colours  to my printed cardstock elements and apply the 3D shapes on top.
  For example, here you see the ecru dot printed  on the cardstock...I looked for a similar 3D shape from the same color family and applied it on top

Same goes for other decorations- see how the graphic above has these orange and yellow apples and green leaves...I will find some 3D shapes in the same color scheme to decorate and blend with the background underneath .

Here,I'm adding some graphic 45 banners 


Time for some flowers :)
To connect my Petaloo blooms to the tin,I'm using XYRON 3/8" high tack glue dots

Gluing my flowers directly on top of  banners in place where the yellow/orange apples used to be
Using the same color palette to the printed graphic
 Now adding some  Steampunk gear die cuts by Piccoloto to my design
I decided to add it because of two reasons-first,I find it funny to add watch's gear to a graphic that has calculations printed on...it's like brain slowly turning it's gear to solve  a math problem :D
But more importantly, the 'Steampunk Spells' banner I used has the same gears printed design (remember, keep connecting your 3D shapes to your printed matter )


Use your 1.5" XYRON Sticker Maker to apply an even coat of adhesive to the die cuts
and glue them in place

Add some more gear decorations.
Graphic45 has gear die cuts   in the 'Steampunk Spells' banner collection,same collection I took the above ^^ banners from.
To make the die pop,I used Teresa Collins Adhesive Foam Squares


 Thinking some fancy lace ribbons by Petallo are in place  :)
Glue them in with the XYRON glue dots


 And my tin is ready for use!
Since it's a metal tin,you can   hang it on magnetic trails-how cool is that haa 


I added some labels to mine and store  dye chemicals inside .
bear_hugs

Friday, May 10, 2013

Making a Playhouse out of an old Baby Crib DIY

Our kids have grew out of their crib,but I had a difficult time to let it go or God forbid throw it away.
We took it apart and put it in the garden under the staircase and it has been standing there for more than half a year already...
One day,while browsing Pinterest ,I stumbled upon this great pin showing a playhouse which was build around a walk in closet . It was AMAZING!!!!!!
I looked and looked on it and little by little I found resemblance between my crib and this beautiful indoor playhouse.
I said-what if I'll take the crib's rails and make them into the sides of the house...And the crib's mattress   base into the roof...
And I'll place it all under the stairs in my garden to form a visual other side of the roof...
What if........?
let's try and see :)

 You do need to score yourself some wood beams -I found mine near the garbage (I guess these were leftovers from someones DIY :)

The construction is VERY simple- three beams on one side..Three beams on the other side...and crib rails and mattress base in between and on top

Connecting the rails to the beams


To connect the right side to the left,and give the playhouse a little more stability ,we made a little sitting bench 

 And that's it the playhouse is ready :)

Now for some finishing touches I hang on some solar powered fairy lights and other decor you can read about in the next post------>

bear_hugs

Wednesday, February 6, 2013

Recycle, Reorganize...BE Creative

I'm always in a straggle to keep my workspace neat ...I just can't seem to  find the right place  for all my  little bits and pieces .They are always all over the place making my already crowded table look like a HUGE mess.
 I keep moving things around ,but nothing helped much until I found a great idea-
  It's nothing new,we all know the magnetic bars  we can find in IKEA and other shops ,well ...we'll need one of those (at least one!! I have four and it's still not enough :D )  and some metal tins (this is where the recycling part comes handy )
I used Max Brenner's chocolate tins ,but I don't know if the chocolate by the bald man is an international brand,so if you can't find it locally,then you can just use other metal tin.  ( BUT, if you happens to know the brand ,you must agree with me that their chocolate is top notch and their metal tins are delight ,both design and practical wise)
O.K, so now you have eaten the chocolate,drilled some holes in your walls and hung the magnetic bars on,used your metal tins to hide the little bits and pieces in ....BUT ,are you happy?
 NO!!!!
 And why is that you ask....Because ,although now my table is neat and tidy (I wish ) I can't really know what's behind door number 1...The metal tins are lovely,but they are not transparent ,so you can't see which piece from the puzzle you want to grab next.....
At the beginning I thought that I'll just remember what I put in each...but that is impossible :(
Then I thought I'll grow a super power and with my X-ray vision will see through  the tins,but until I work on that,here is an easy trick I did to make my life MUCH, MUCH easier

Here is what else you'll need :

  • Smart phone to take a cool lomo photo
  • Photoshop or other editing program to size your photos to the right size (I needed my photos to fit 3X4 cm rectangle as I had an already drawn frame at that size on my tins)
  • Printer to print the sized photos
  • Photo paper
  • Xyron 1.5" create-a-sticker 
  • OR Xyron 5” create-a-sticker with permanent adhesive 
  • Or you can use your Xyron 5" (510) Creative Station with Laminate/Permanent Refill -in that case you can just print your photos on a regular A4 printer paper 
So,the steps are really simple BUT the results are FANTASTIC -
Take a photo of your nik naks


Edit them to size as needed
Print on your photo paper, or if you have the 5" CS Laminate/Permanent adhisive Refill,use it and save your photo paper for better projects :)
Run your print through your trusty Xyron


Stick the little helpers on the tin
and 
GENIOUS !!!
You're done- you have the most helpful little tins any busy workspace MUST have


bear_hugs

Friday, June 25, 2010

Sneak Peek -Antique Rose Bib Necklace


A glimpse on my second New bib necklace
The base of the bib is made of recycled leather,which is then decorated with satin flowers in gorgeous hues of antique rose and complimented with recycled bits and pieces

This statement bib will immediately upgrade any simple top and will take it to another level!!!


bear_hugs

Monday, June 14, 2010

Don't throw-Upcycle 2nd project


This time is a very practical DON"T THROW-UPCYCLE post.
Today it will be a Recycle +DIY project (isn't it like to kill two birds in one time)
Wait a minute,lets not kill no one , lets

KEEP CALM
a n d
R E C Y C L E


All you'll need to make a new dress for your little princess is YOUR old peasant tank top and some NEW elastic...NO real sewing skills are needed!
Just cut two tiny holes in both ends of the gathered panel,insert the elastic,pull tight and sew close
Don't forget to do the same for the back panel too


THATS IT!!!
PIECE of CAKE

Now go check your closet for some of your already small on you tank tops and make some new dresses for your little one (sorry,this post is only for mommies with little princesses )


bear_hugs