
PART III
Constructing the Garment
Any sewing project begins with setting up the sewing machine with matching thread

Ready to GO

Shown is a standard sewing foot - I'll need to replace it with my Free Machine Embroidery foot


I start the hoodie project with the pockets!
In my Hoodie dress design,there are these lovely detailed kangaroo pockets

This is how I make them
First of,I make lots of free motion gathers on a piece of fabric

The pocket's fabric pattern is then placed on the already embroidered piece of fabric and pinned together


Ready for sewing together


Trimming the excess fabric to make a neat pocket decoration

Remember the marks I made in the previous post? Here is where they come in handy-
Piecing the two pocket pieces together according to the marks

All the layers been sewn together

Here you go-one lovely kangaroo pocket is ready-now same process for the second pocket...

Both pockets are done!

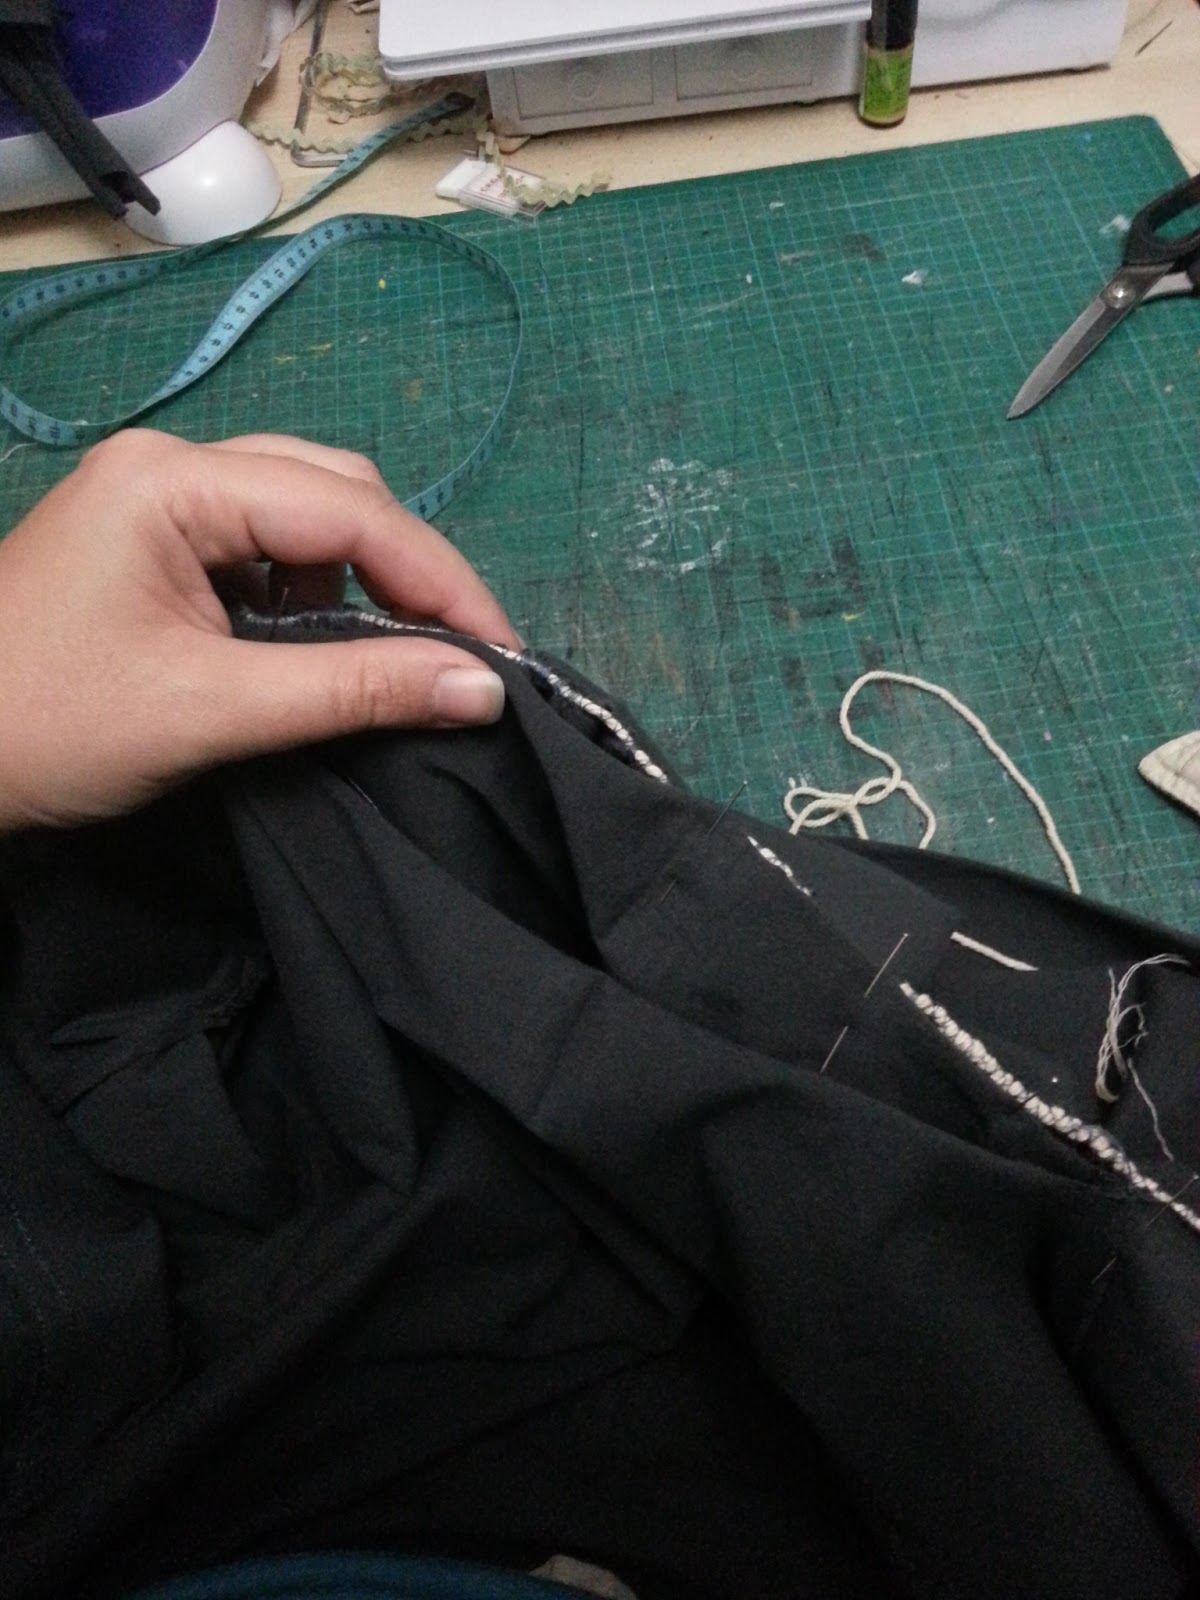
Now the tricky part of sewing them both onto the front bodice pieces

Remember the traced lines I did using the copier paper?
I couldn't do the next sewing step without them!!!
These are my guides for straight, accurate and parallel pockets

The sewing of this pockets is somewhat difficult and requires lots of practice -I tried to show the process,but the second step of sewing these, is too tricky to take a picture of :(
First part of the pocket sewing steps is shown
right side is ready...Now same for the left

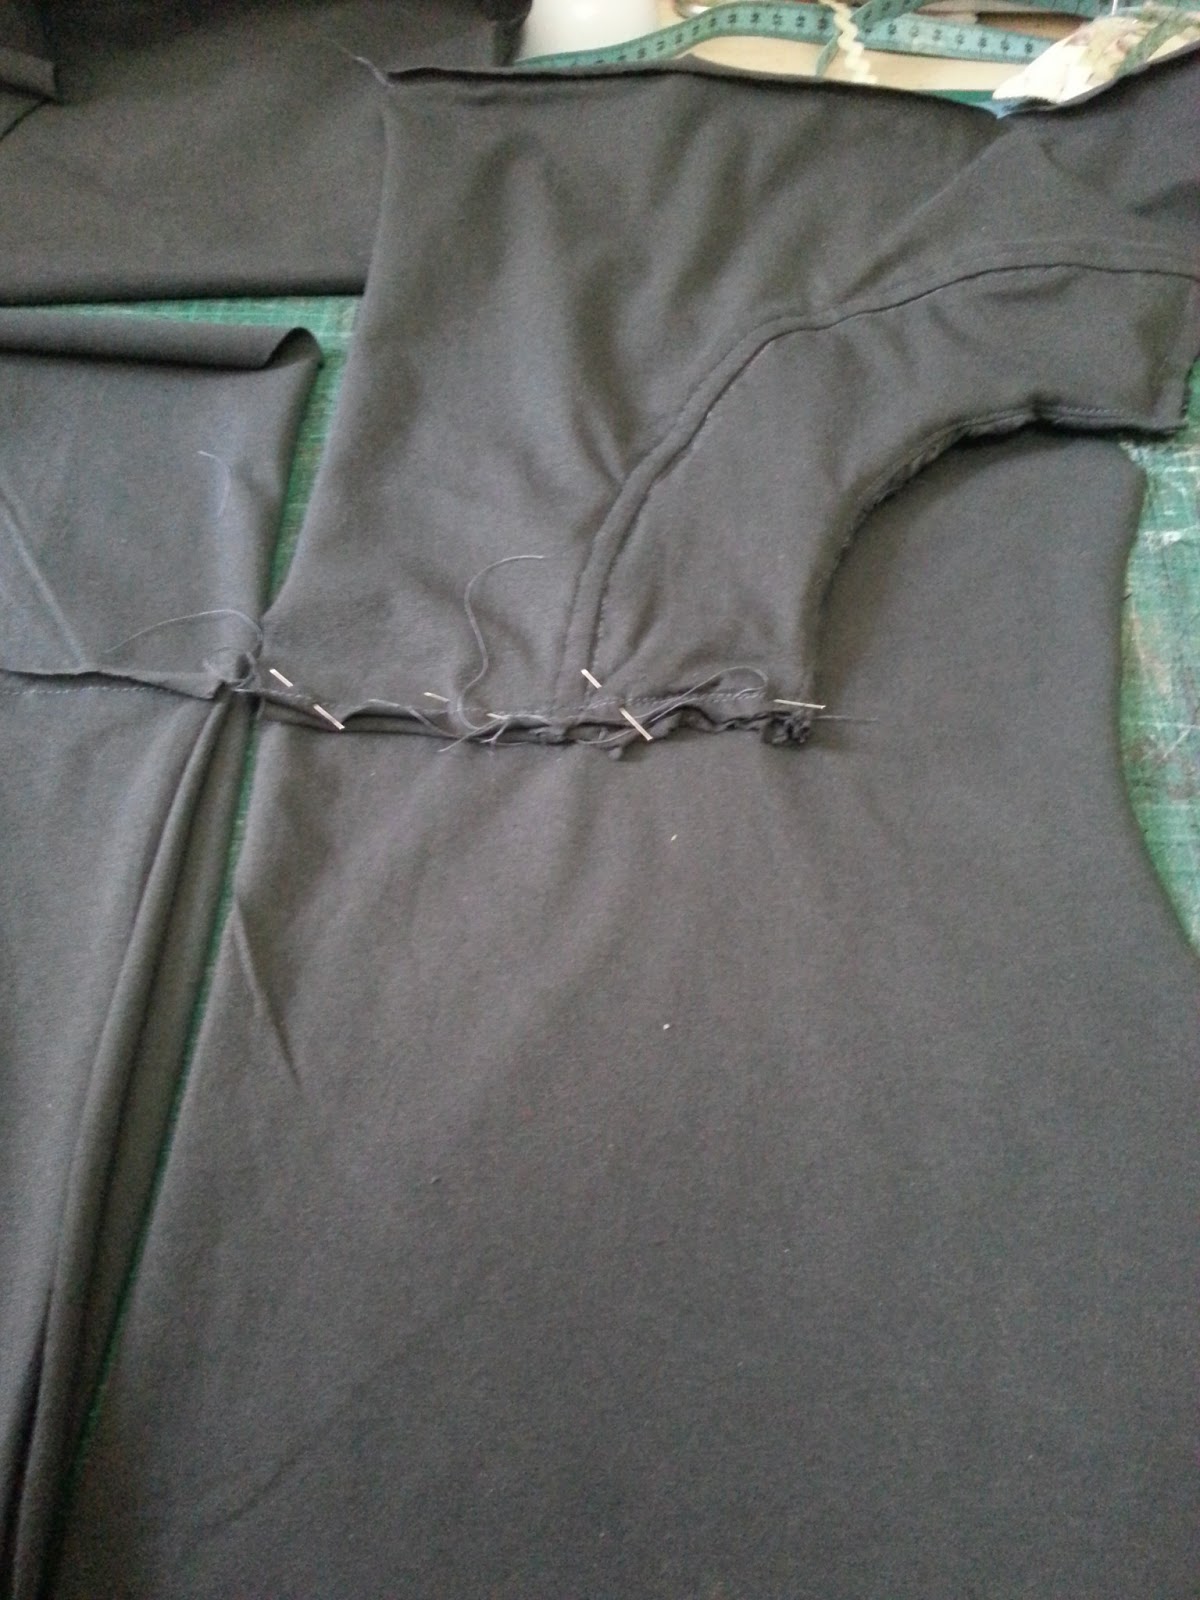
Pairing and sewing both of the front bodice pieces together
Thanks to the previously done marks,this is a fairly easy job

Though, sewing curved sweetheart seams is never a breeze :)

Preparing the back piece- attaching the belt on

Skipped a few steps here,but basically I sewed the sleeve's cuffs (shown ) together...nothing special :)

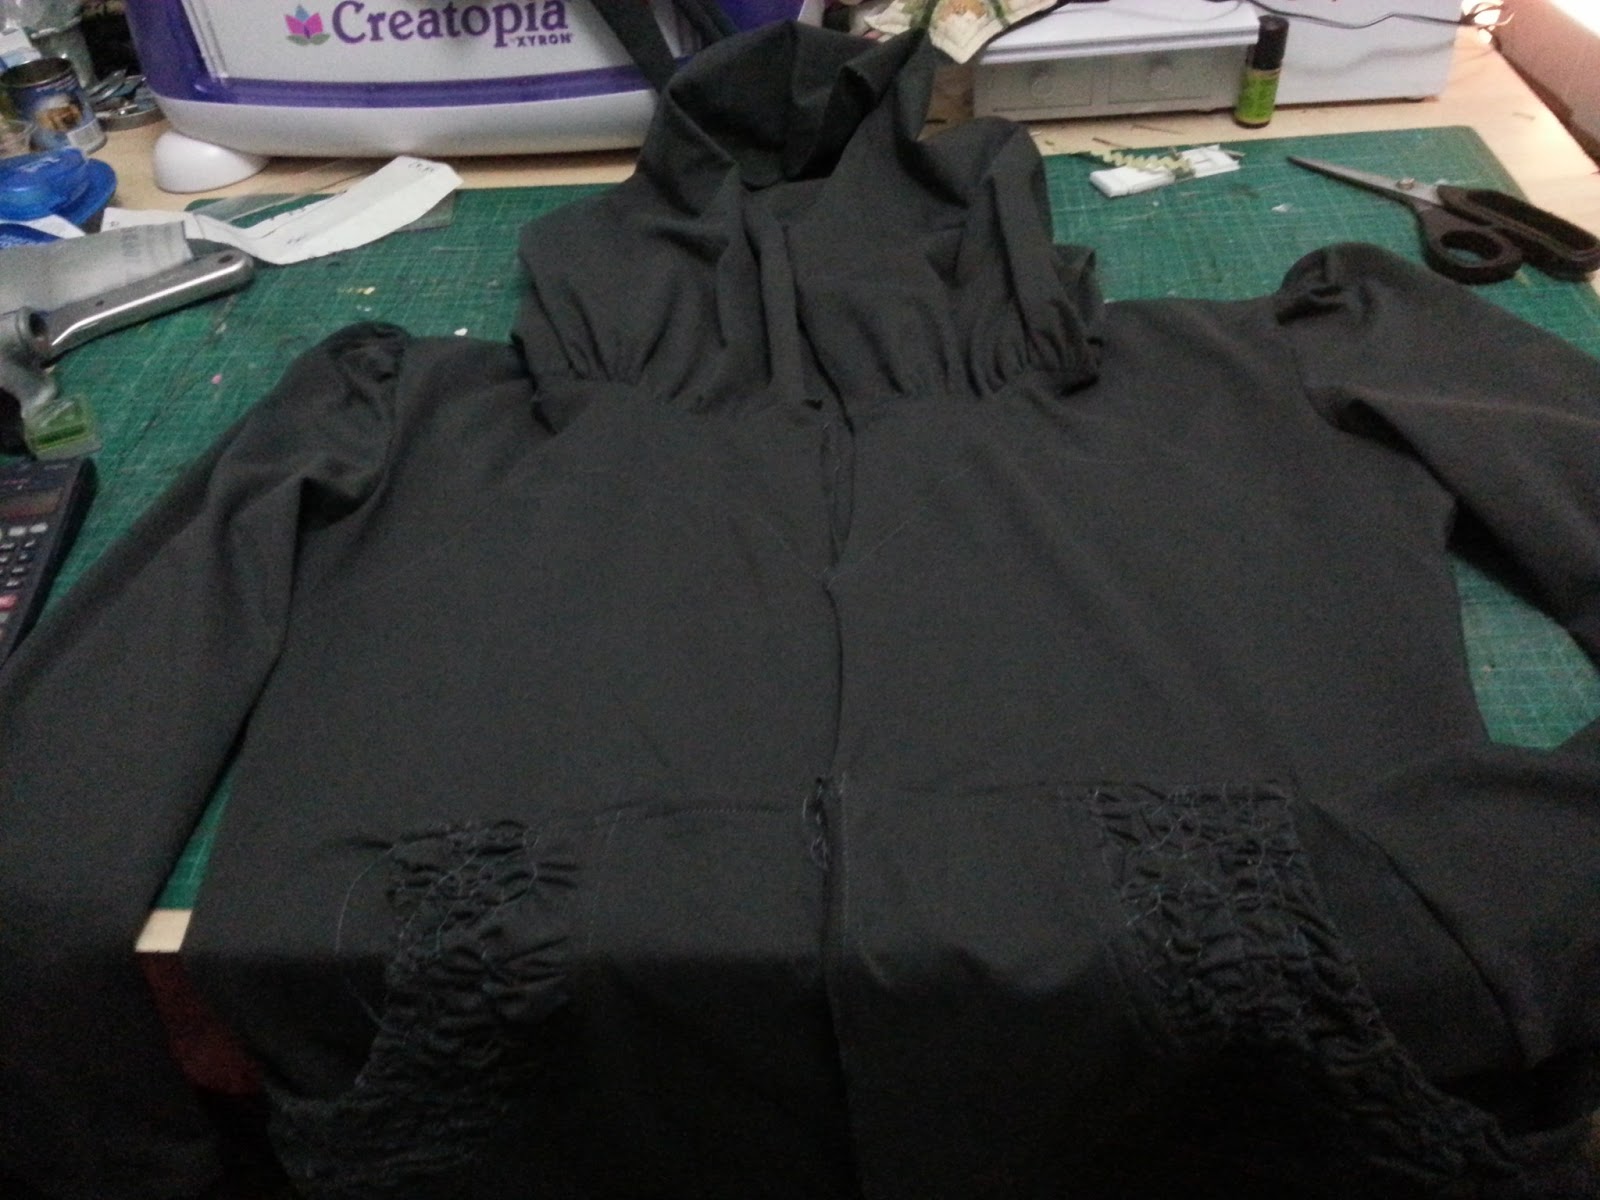
Sewing the front and back together

Seeing the finish line lol

What is missing???
SLEEVES
One is done- cuff was sewn onto the sleeve itself
Now shall do the same for the left sleeve

Working on the sleeves some more-gathering to make sleeve's puff

Piecing together and preparing for sewing

One sleeve is ready!
Now for the left side...

NEXT....
Working on the hood
Attaching a very long twine ,which will help me gather the hood later on
ZigZag....ZigZag....ZigZag....

Pulling the cord to gather the hood

Attaching the hood to the hoodie
Almost ready :)

Zipper and lining left
Changing the machine foot again- now for the zipper foot

Attaching the zipper

FINAL step-the lining

Hemming the lining to the bottom of the hoodie


Pressing and Ironing

BRANDING -sewing on my PettiBear logo label

ENJOYING from the result :)


Dear Avi,
I hope that seeing the process of making your new hoodie dress will make it even more special and enjoyable for you to wear and be proud of
With LOVE

No comments:
Post a Comment